Step 1: Install the ESP8266 board in Arduino IDE
According to the first method from https://github.com/esp8266/Arduino
(1) Start Arduino and open Preferences window.
(2) Enter http://arduino.esp8266.com/stable/package_esp8266com_index.json into Additional Board Manager URLsfield. You can add multiple URLs, separating them with commas.
(3) Open Boards Manager from Tools > Board menu and install esp8266 platform (and don't forget to select your ESP8266 board from Tools > Board menu after installation).

Step 2: Wiring
The Wiring is 90% the same from my last post: Getting Started with esp8266-01 as shown below:

The only thing different is that we must connect GND from FTDI to GPIO0 on ESP8266. This is to set the ESP8266 into "bootloading" mode. RST and GPIO2 pins can be left floating.

Step 3: Coding
If the board is chosen from Tool > Board as General ESP8266, we can just pull the blinky example from File > examples.
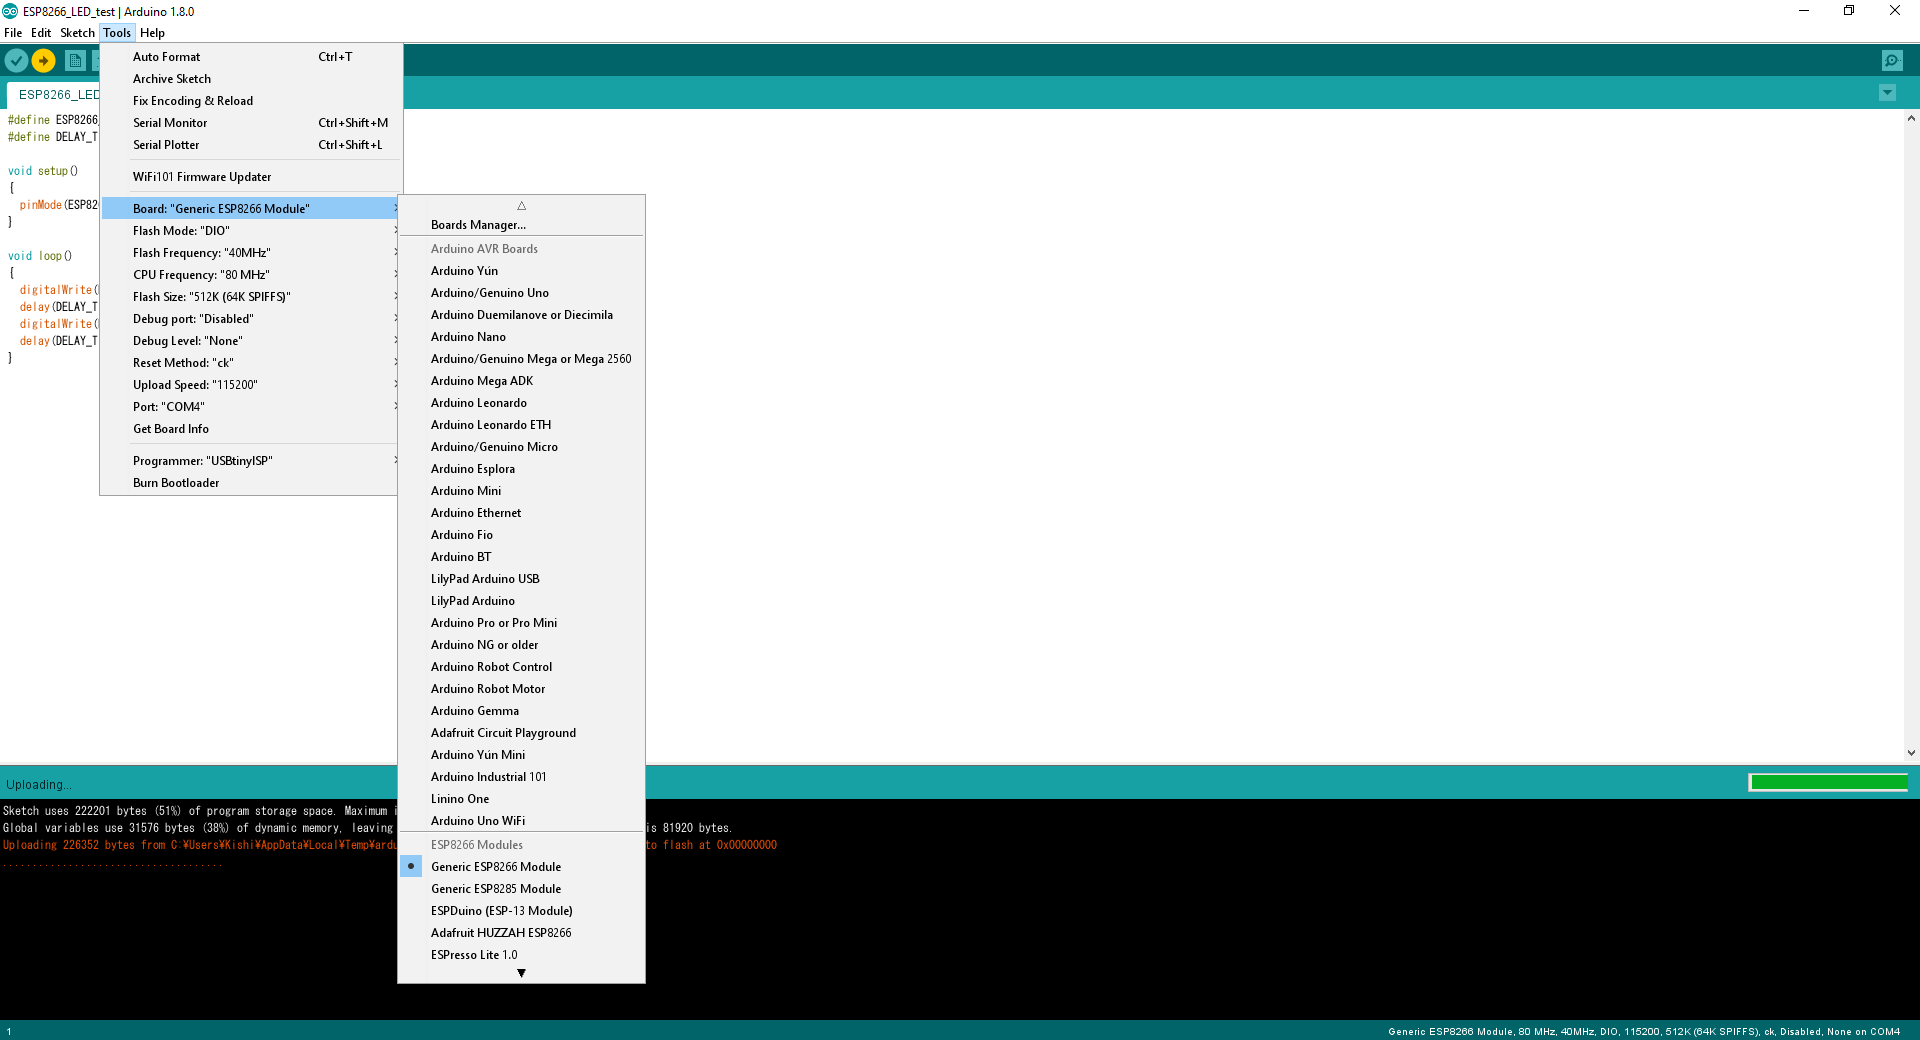
Step 4: Flash the Module
Flash the board using the following parameters.
/////////////////////////////////////////////////////////////////////////////////////////////
(1)
At first I got the following error message:
warning: espcomm_sync failed
error: espcomm_open failed
error: espcomm_upload_mem failed
error: espcomm_upload_mem failed
Checked online and find some hints. The cause can be one of two things:
(1) Insufficient power. Try to power the ESP8266 from an external 3.3V power supply such as a lab supply. Two fully charged AA batteries should do the trick too. Make sure your serial adapter's GND pin is also connected to the ESP's GND pin in order to provide a common ground.
(2) ESP8266 is not in programming mode. Make sure GPIO0 is attached to GND and turn the ESP off and on again. It will then boot into programming mode. Once programmed, you can take it off GND.
So here is what I did:
> unplug the GND <=> GPIO0
basically go back the the getting start with ESP8266 post and do "AT" command and got "OK".
> plug the GND <=> GPIO0 back again
Flash and it worked!! You can see the blue led blinking.
(2)
Next day, I plug in the ftdi and the blue is NOT blinking any more. We must put it back to normal mode by unplug the GPIO0 from GND.
ref:
https://www.monocilindro.com/2017/02/25/flashing-esp8266-using-ftdi-and-arduino-ide/
https://github.com/esp8266/Arduino
https://stackoverflow.com/questions/31371969/cannot-program-esp8266
No comments:
Post a Comment